


Chapter XI. Rolling Blotter-Holder
Description
This section is from the book "Design and Construction in Wood", by William Noyes. Also available from Amazon: Design And Construction In Wood.
Chapter XI. Rolling Blotter-Holder
The essential features of a convenient rolling blotter-holder are that it be the proper size and shape, say an oblong not larger than 3½"x6½"; that it be easily grasped; that the blotter be so fastened as to be easily changed; and that the blotter be properly cushioned.
In the device shown in Fig. 179 these requirements are met. The construction is as follows: A dowel on which a thread has been cut, is screwed and glued into the knob, while the part projecting from the knob passes freely thru a hole in the cover, ¼" thick, and screws into the rounded part, Fig. 180.
The wood suggested is sweet gum, like the pen-tray described in the preceding chapter.
The proportions are largely determined by its use, the knob alone admitting of great variety in outline. The knob as well as the back may well be decorated with a pattern in harmony with that of the tray. See Fig. 181.
The making of the blotter shown in Fig. 182 will be described.
The materials needed are of sweet gum as follows:
A. 1 piece, ¾"X3"X5" (full).
B. 1 piece, ¼"x3"x5" (full).
C. I piece, i"xi"x2" and 1 dowel-rod, ⅜".
The new tool needed is a screw-box and a wood tap, size ⅜".
True up to size and dress carefully the two larger pieces A and B. Locate the center of each of these pieces. Bore a ⅜" hole thru B, and a 5/16" hole thru A, and a 5/16" hole into and nearly thru C at the center of one side. Take great pains to bore perpendicularly to the surface. With the tap, cut the threads in the holes, in A and C.
Select a straight grained piece of dowel-rod ⅜' diameter, and on one end by means of the screw-box cut a thread for two inches or more. If the box tears off the thread instead of cutting it clean, take it apart, see that the cutter is sharp, reassemble, and try again. A little adjustment of the cutter back and forth may be necessary to get the best cut. Cut off two inches of the screw thus formed, work a little glue into hole - the 1" square piece, and screw in the dowel.
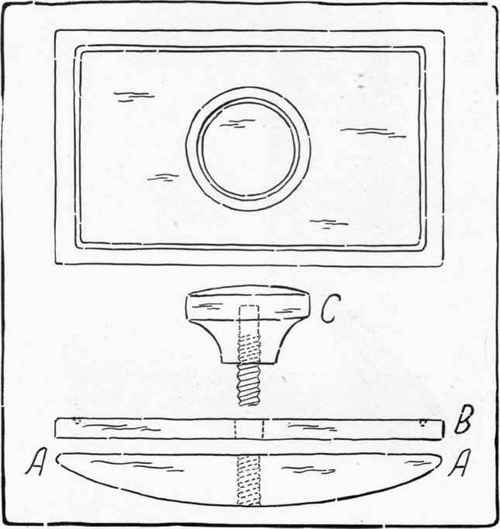
Fig. 180. Rolling blotter holder.
Now shape up the knob to the form desired. A piece 2" long was selected at the start in order to avoid the danger of splitting it while boring into it the 5/16" hole. Cut off the surplus ½" from each end, lay out the form on the two opposite sides, and with the chisel, gouge it and (or) file it and bring it into shape. If it is angular, it must be shaped by hand; if it is round, it may be turned on a lathe, if one is available. Shaping the knob by hand, is very difficult. Some may find it easy to whittle it into shape with a penknife.
If one is a novice at the lathe, do not try the wood turner's tangential cuts, but be content to scrape this piece into shape. Wrap a thickness or two of stiff paper around the projecting part of the screw and fasten it firmly but not violently into a three jawed chuck, and then with sharp chisel and gouge, scrape it into shape, that is, hold the tool on the rest at right angles to the axis of the spindle. Use high speed on the lathe. See Fig. 183.
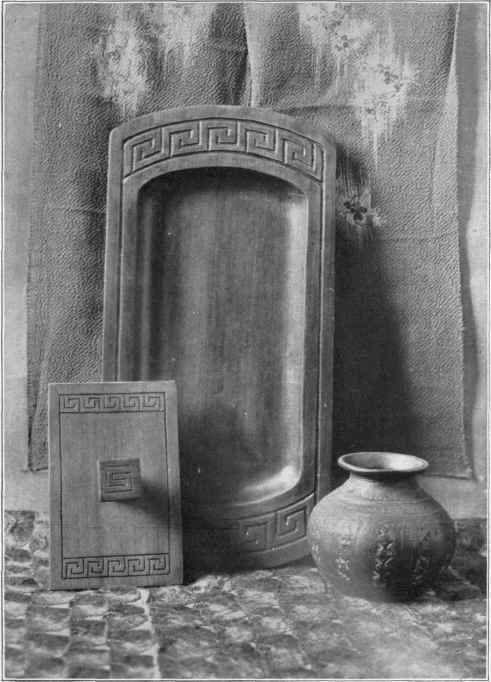
Fig. 181. Rolling blotter-holder and tray.
Next shape the roller part of the blotter. Lay out the curve on the two long edges of A with a templet of thick paper, cut to the proper shape. Saw off surplus with rip-saw. With chisel or draw-knife shape roughly and then plane to the line mostly across the grain, as in shaping the mallet head. (See p. 120).
Take care not to bring the curve to a knife edge with the upper face, but finish it as in Fig. 180, A, A.
Now carve the pattern designed to fit it. If the cut (groove) on the knob runs clear around it, as in Fig. 184, it can best be added while the knob is in the lathe. For this purpose use a 1/16" chisel ground to a round nose.
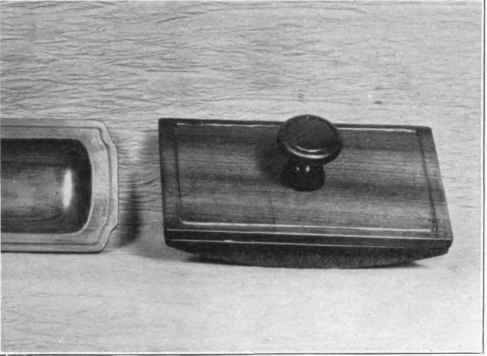
Fig. 182. Rolling blotter-holder.
Add the decoration, if any, io the cover, B. Finish in the same manner as the tray (p. 131). A pad of felt, fastened to the rounded surface by means of thick shellac, gives a softer blotting surface. The pieces of blotting paper
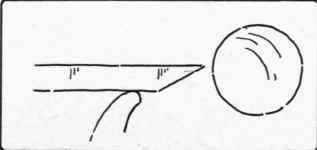
Fig. 183. Scraping the knob on the lathe.
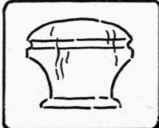
Fig. 184. Turned knob should be as wide as the blotter holder and long enough to fold well into the space between the roller and the cover. They are held in place by tightening the screw.
Continue to:


My Books

