


Woodwork. Continued
Description
This section is from the book "Arts And Crafts In The Elementary School", by Joan Dean. Also available from Amazon: Arts And Crafts In The Elementary School.
Woodwork. Continued
1. Some work on the nature and growth of wood and on the appearance of the various kinds.
2. Some examination and observation of good and bad pieces of wooden furniture. Some discussion about how they were made and whether they look well, and why they are good or bad.
3. Some work involving the various simple methods of jointing.
4. Some work involving the use of the following: Tri-square, hammer and nails, saw.
Drills, screws (with counter-sinking).
Some uses of the chisel and how to sharpen it.
Attachment of hinges, brackets, etc.
This more formal work really requires to be based on a number of pieces of work which form a progression, building up skill and knowledge and providing practice in the various skills. Below, I give suggestions for a number of pieces of work which might form the basis of such a scheme of work, although many other ideas would serve the purpose equally well.
Such a scheme might begin with a tray, or display frame, made from a ready-cut piece of hardboard and a length of planed wood, rectangular in section, and of a proportion which looks well with the size of the piece of hardboard. The tray can then be made in two possible ways.
The simpler way is to saw the wood, place it in position, butting one piece up against another as in the diagram, fix the wood in position with glue, then, when it is dry, reverse it and nail.
Tray or display frame with unmitred corners.
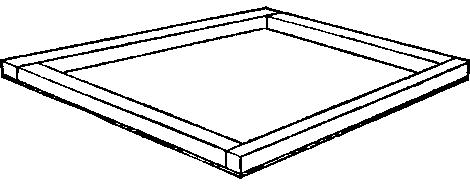
A refinement to this would be the use of a mitre block to make mitred corners. This would make it possible to use moulded wood instead of rectangular section. Another refinement would be the use of screws, instead of nails, with counter sinking. If this is to be used as a tray, it can be painted, and perhaps the hardboard centre covered with Fablon or some similar type of material. It could also be used as a display frame for children's drawings or paintings. In this case the outside edges can be painted and the inside papered to blend with the wall where the frame is to be hung. In my own school we made a number of these frames as wall decorations, and we used them for displaying a variety of kinds of material.
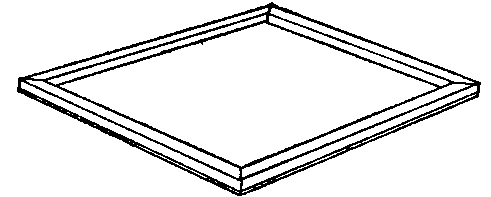
Tray with mitred corners.
The skills learnt in making the tray are those of sawing accurately and hammering in nails or using screws, and possibly the use of a mitre block. A second piece of work involving similar skills is a sledge. This needs two sturdy pieces of wood— a minimum size would be i X 2 in. These can be planed or unplaned. A piece is sawn off at an angle at one end of each length. This involves a new skill in sawing. A series of short pieces of planed wood are then nailed across as shown in the diagram.

Sledge.
One of the first real problems children meet in woodwork is that of joining two pieces of wood. Some work therefore must offer some of the simpler solutions to this problem. One solution is that of jointing a corner by screwing the two pieces of wood concerned to a third piece. Practice in this skill can be provided by the making of an open box, of the kind often used to store small apparatus in P.E. Five large pieces of planed wood, hardboard or blockboard are needed for the box—the bottom of the box and four side pieces. Smaller pieces of planed wood, square in section, are needed for joining the sides of the box to the bottom and for joining each side to the next. These will need to be of sufficient size to hold the box together —probably at least an inch square and larger for a large box.
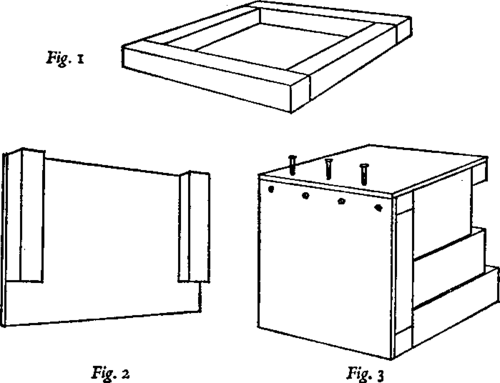
Constructing an open box
Start with the bottom of the box and fix the small pieces of wood along the edges as for the tray. The bottom should now look like Fig. 1. The small pieces of wood for fixing the corners should be shorter than the sides by an amount equal to the thickness of the bottom of the box, plus the small piece attached to it. Fix the small pieces on to both sides of two pieces of wood. (Fig. 2.) The remaining fixing can be done in any order, but it is as well to make it quite clear to the children that the drilling and the entering of the screws, must be done with the drill and screws vertical. It will probably be necessary to improvise support for the side which is being screwed on. (Fig. 3.)
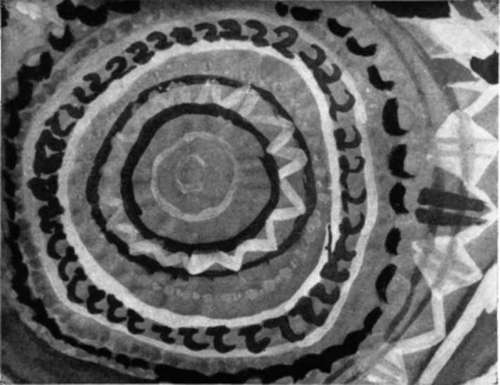
Pattern structures
8-year-old. Concentric circle pattern in paint (Chapter 13)
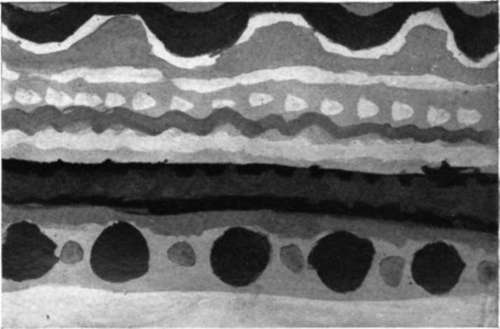
Pattern structures
8-year-old. Stripe pattern (Chapter 13)
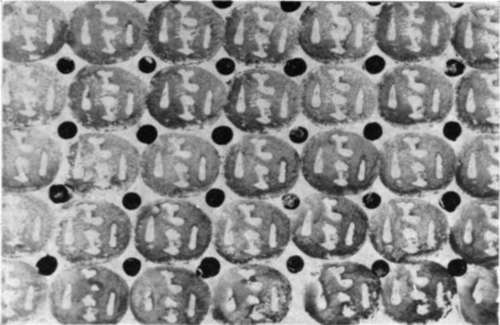
Pattern structures
10-year-old. Side-by-side pattern printed with potatoes (Chapter 13)
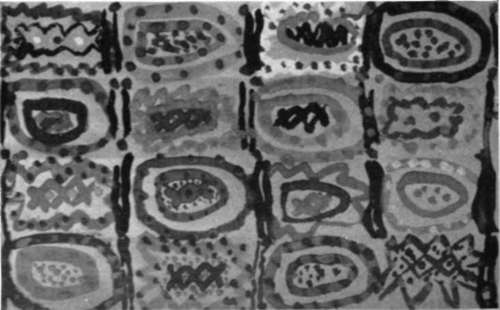
Pattern structures
8-year-old. Side-by-side pattern in paint in which shapes are varied (Chapter 13)

The finished box.
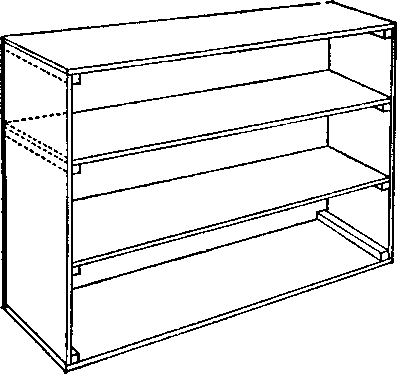
Bookcase
A progression from this would be a simple bookcase, basically made in a similar way, with perhaps a hardboard, rather than a wooden back. The shelves can rest on battens, fixed to the sides before the bookcase itself is assembled.
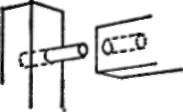
Using dowel pegs as a method of jointing
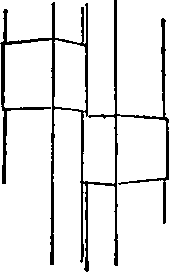
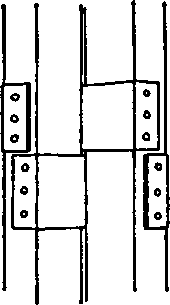
Hinging. These hinges are made with strips of braid which are nailed in position
Fixing the braid
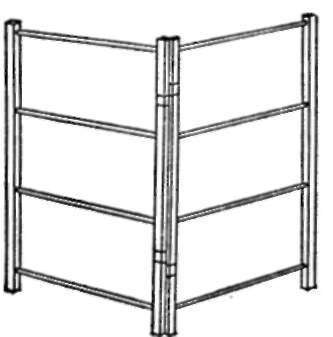
The finished clothes-horse
Another simple method of jointing is with dowelling. A small clothes-horse could give good practice in this, either using dowelling for the rails or using a fine dowelling to join the rails to the main framework.
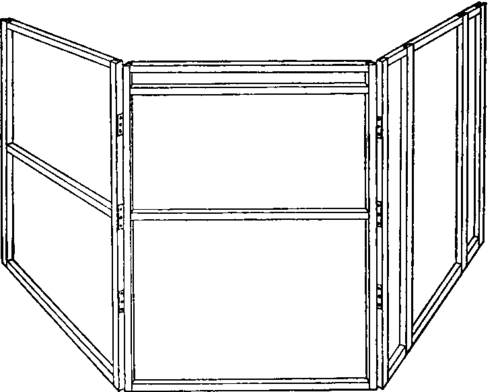
Wendy house-cum-puppet stage framework
This will need to be covered with hardboard or material, leaving openings for the door and for the window. The framework can also be used as a shop.
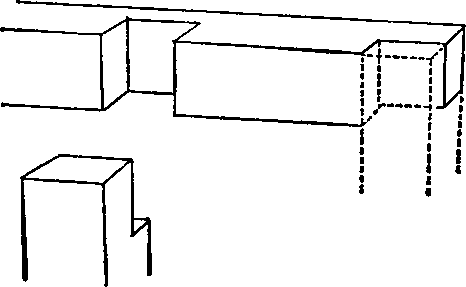
Method of jointing
Halving joints are needed in the Wendy house-cum-puppet-stage in the diagram at the top of the page. This also involves the use of a chisel to make the middle joints and for insetting the hinges, although the joints could be made with brackets or dowelling if preferred.
The wood has been removed with a chisel, so that the hinge can be inset.
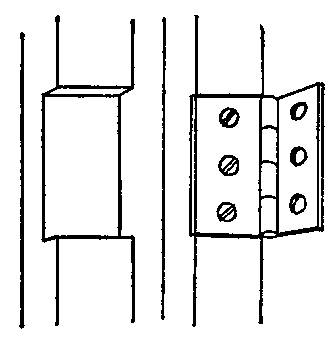
The hinge position
These are only a few suggestions for a formal woodwork course. There are also many small pieces of furniture or equipment, needed in most schools, which can well be made by the children and which can serve as good teaching opportunities. Many children will also be keen to make various things for themselves which can give the necessary practice and opportunity for learning.
I am quite convinced that the Junior school, at the latest, is the time to start serious work in this craft, and I think the results might surprise us if Juniors were given more chance of doing it. When I look at some of the things which pass as furniture in our shops today—the drawers that stick, plywood backs, wood that warps and cracks within a few months of purchase, veneer which peels off and shows the poor workmanship beneath—I become convinced that we shall only achieve better standards by educating our boys and girls, so that as adults they will demand good workmanship in the things they buy. They will only know good workmanship if they have the knowledge born of personal experience.

Pattern structures
10-year-old. Side-by-side pattern in ink and crayon, using two alternating motifs (Chapter 13)

Pattern structures
Student's work. Interchange pattern in cut paper. The textured background was made with string soaked in paint (Chapter 13)
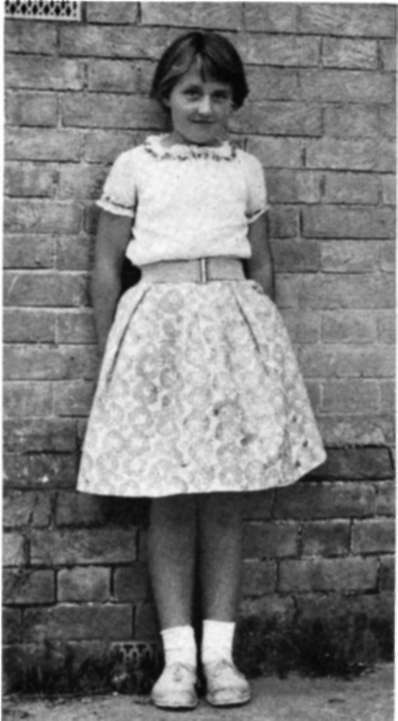
9-year-old wearing skirt printed and made by herself
(Chapter 13)
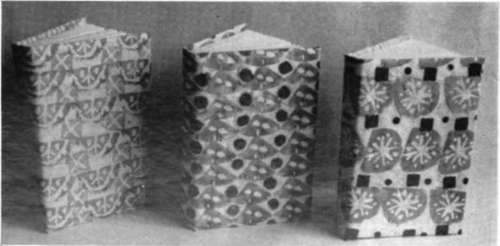
10-year-olds. Book jackets made from experimental printing on material. The material was mounted on paper to make the jackets (Chapter 13)
Continue to:


My Books

